Scanning documents in your iPhone Notes app is pretty darn easy! The Scan and Sign feature stores scanned documents electronically, allowing you to scan, sign, and share documents from any device. Below, we'll cover how to scan a document with your iPhone and sign and share a PDF from your mobile device.
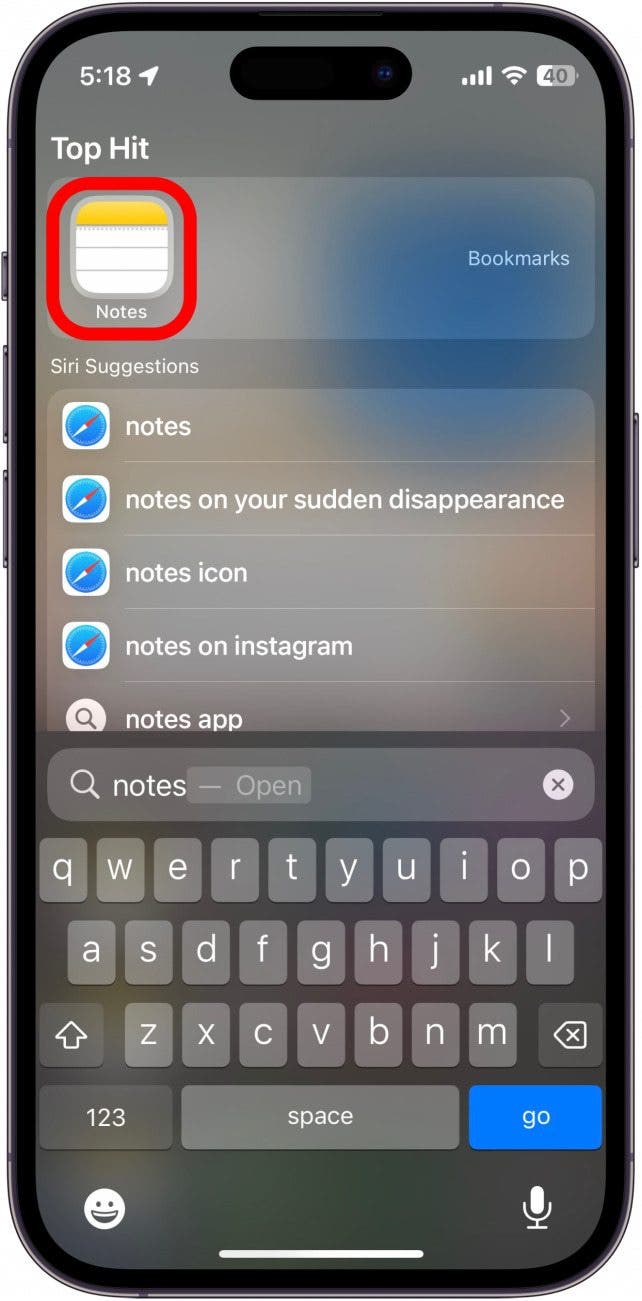
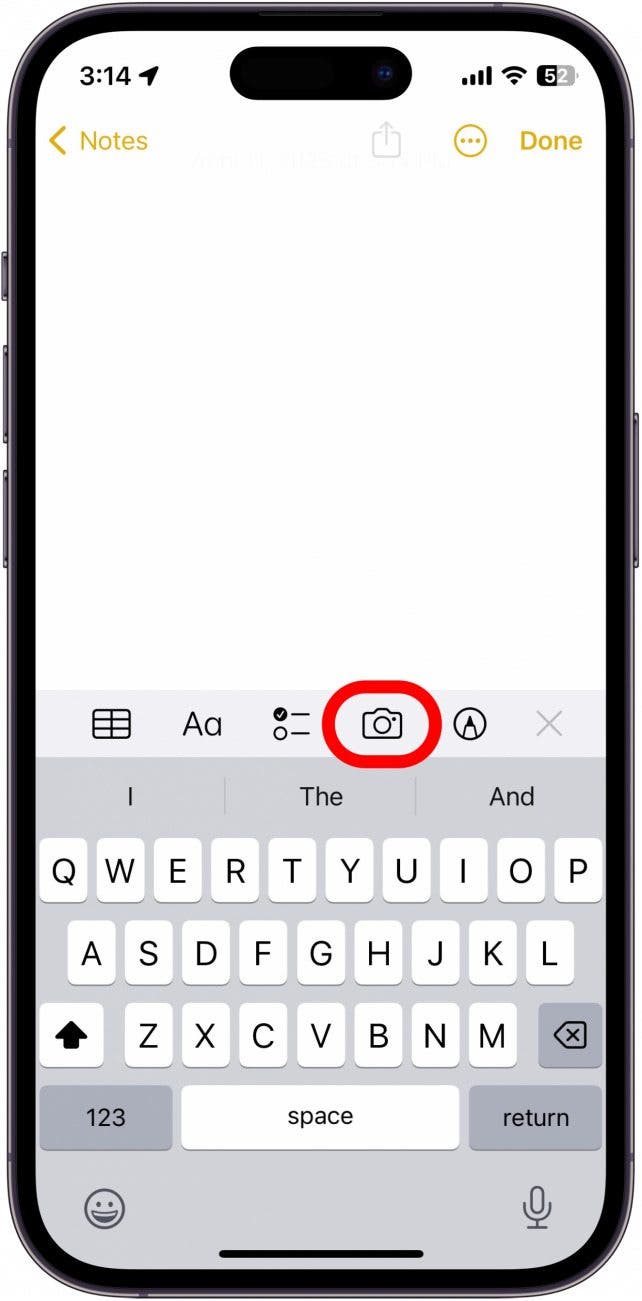
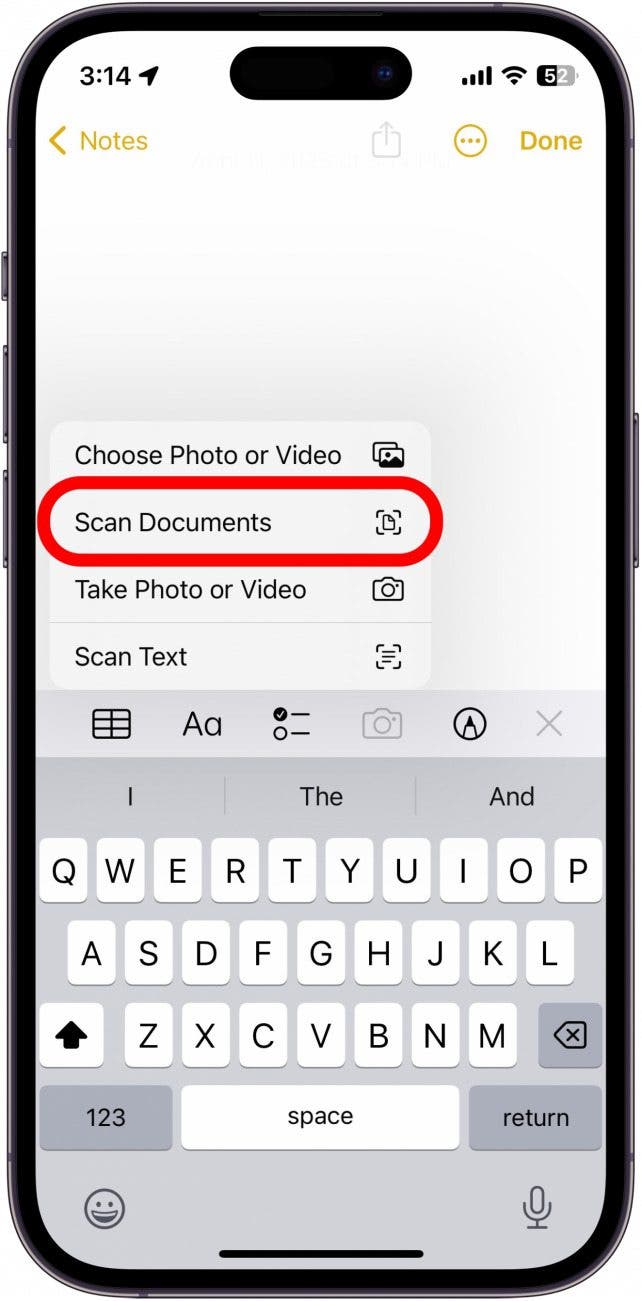
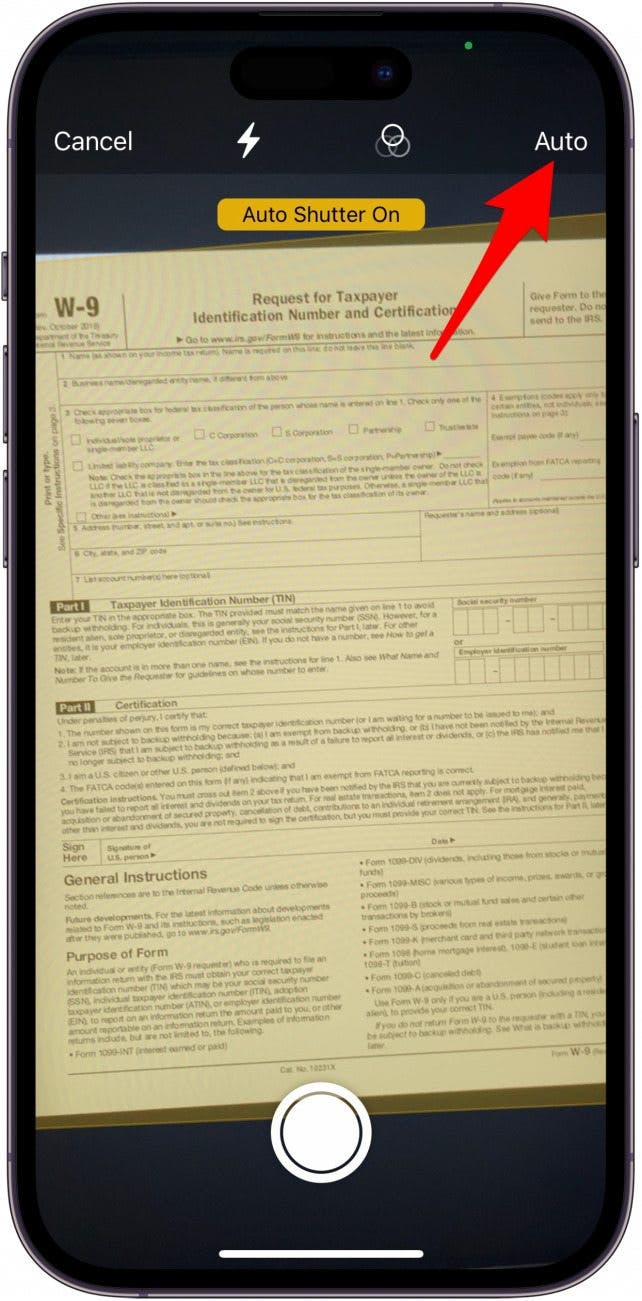
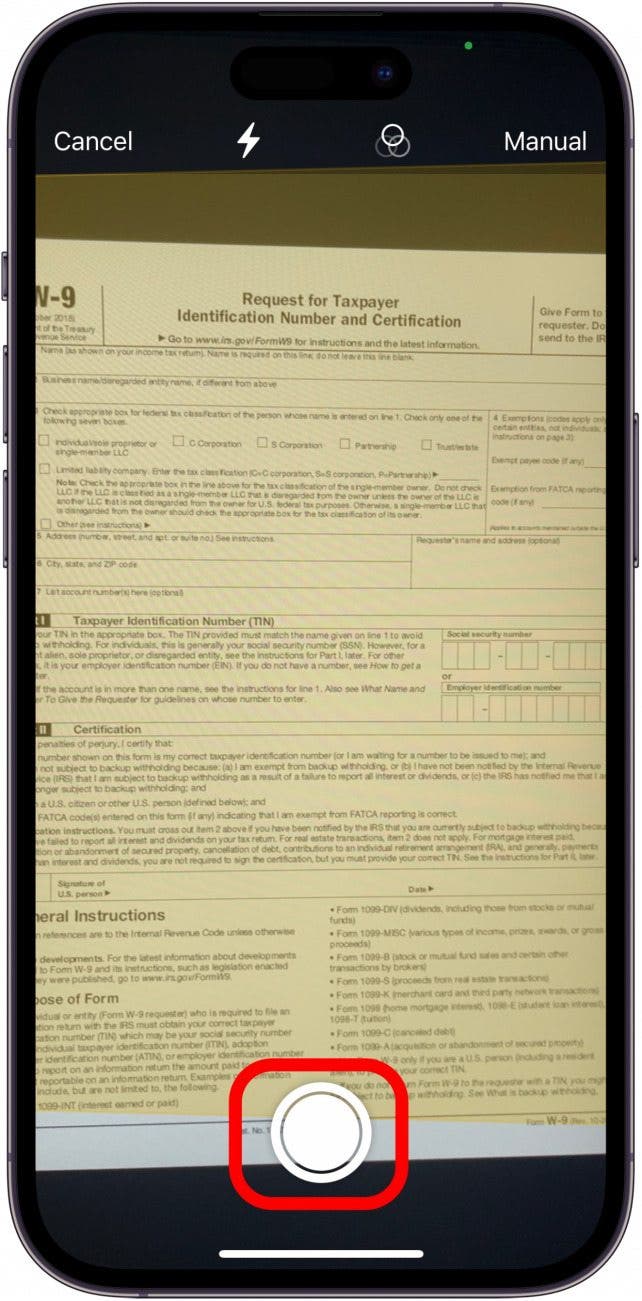
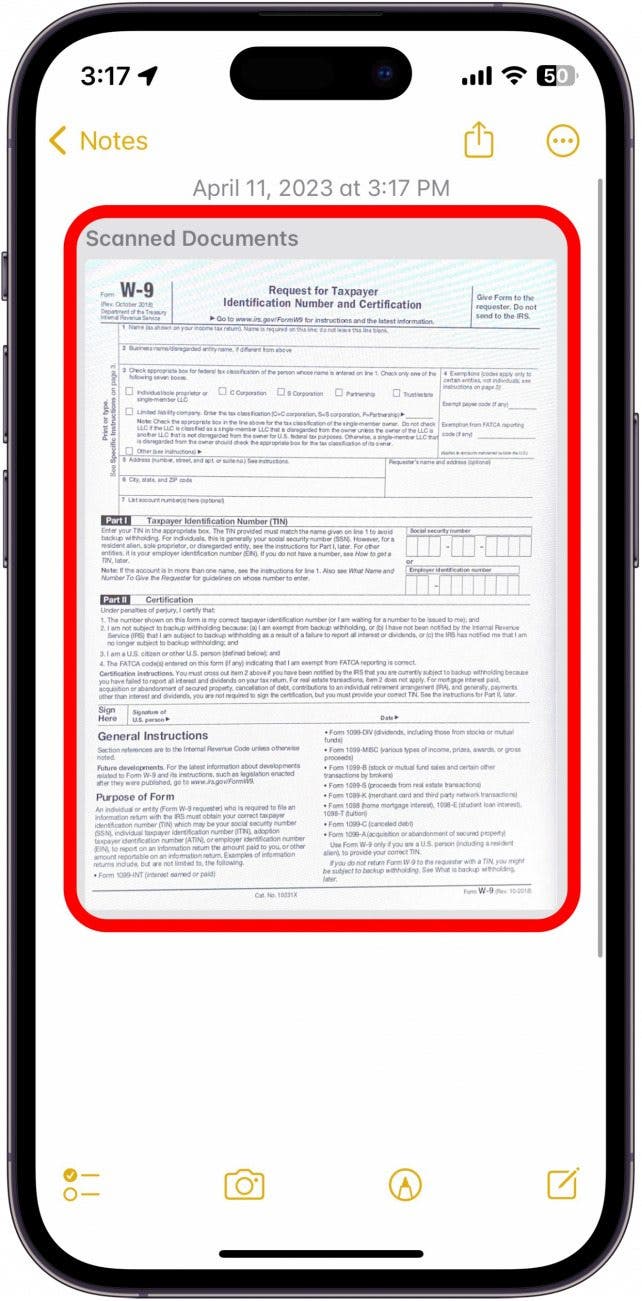
When you scan a file using your iPhone, you can add the scanned document to an existing note in your Notes app or add the document to a new note. Let's walk through how to scan a document using your iPhone:

Get a daily tip (with screenshots and clear instructions) so you can master your iPhone in just one minute a day.

Pro Tip: For quicker note-taking, consider using the voice-to-text function on your iPhone!
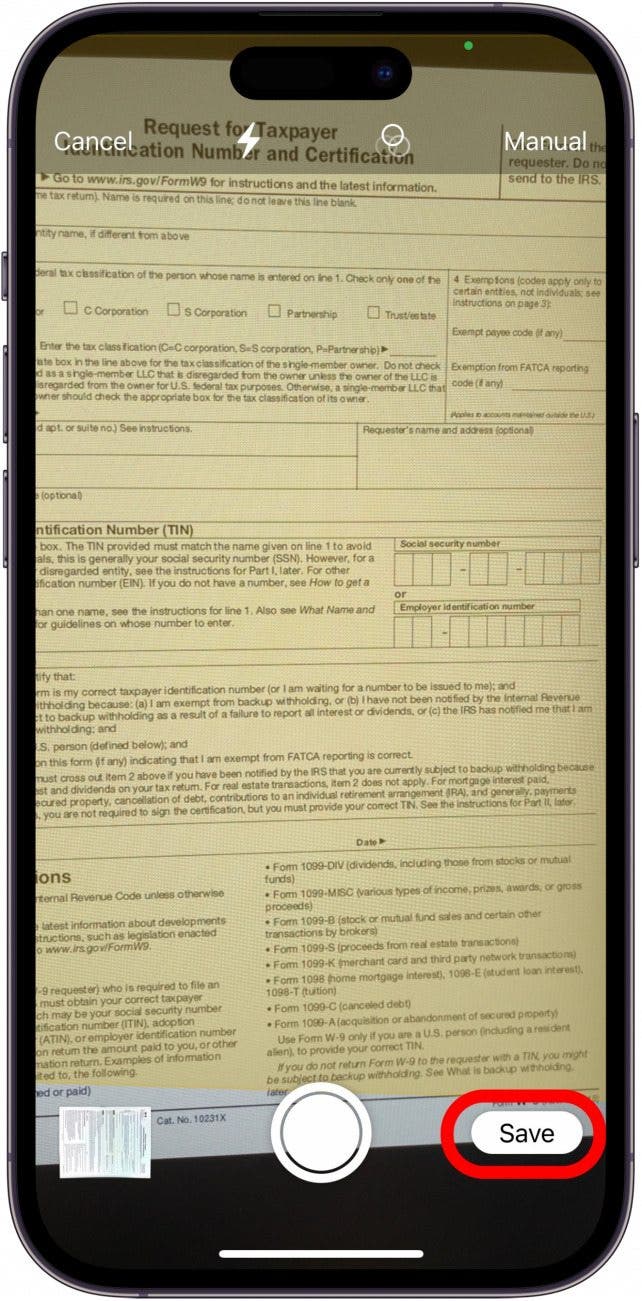
Your scanned document is now saved in a PDF format which you can edit, sign, and send via email, Messages, or AirDrop. Next, let's go over how to sign a document on iPhone and how to add text to a scanned file. For more iPhone note-taking tips and tricks, sign up for our free Tip of the Day newsletter.
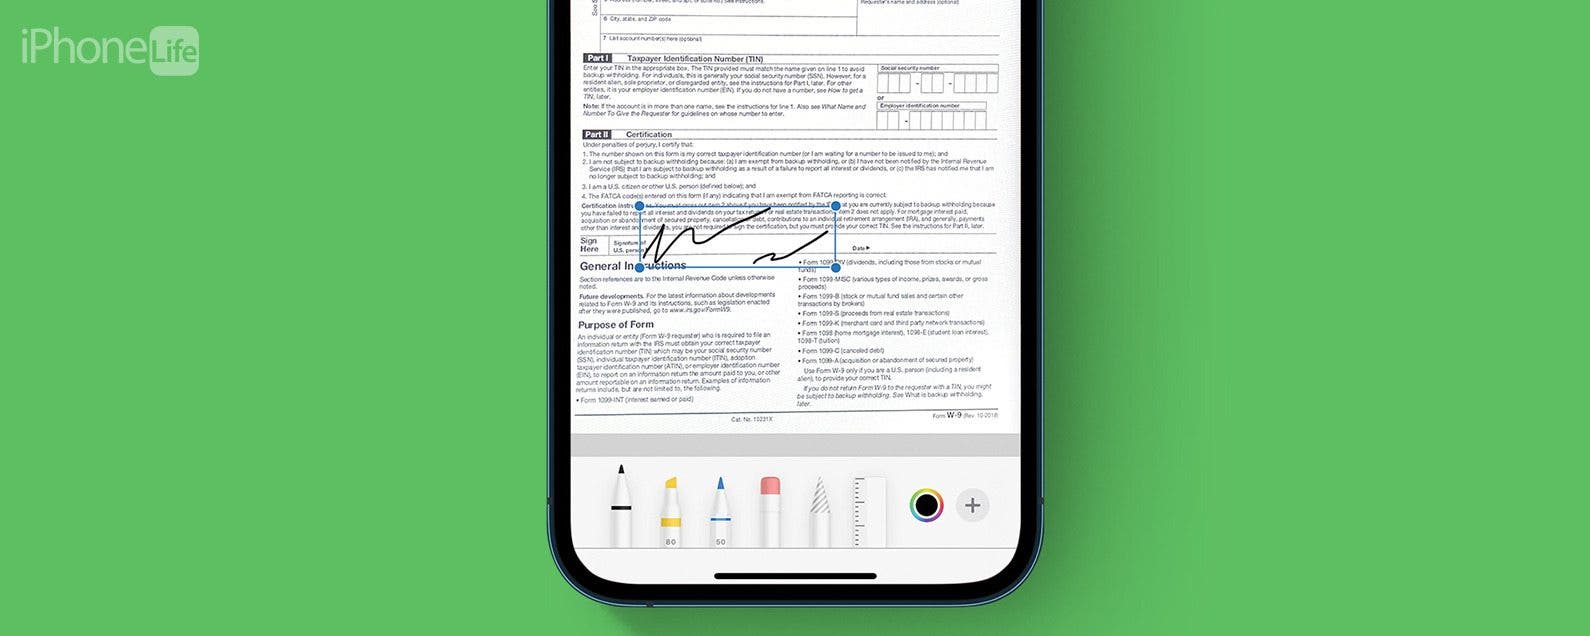
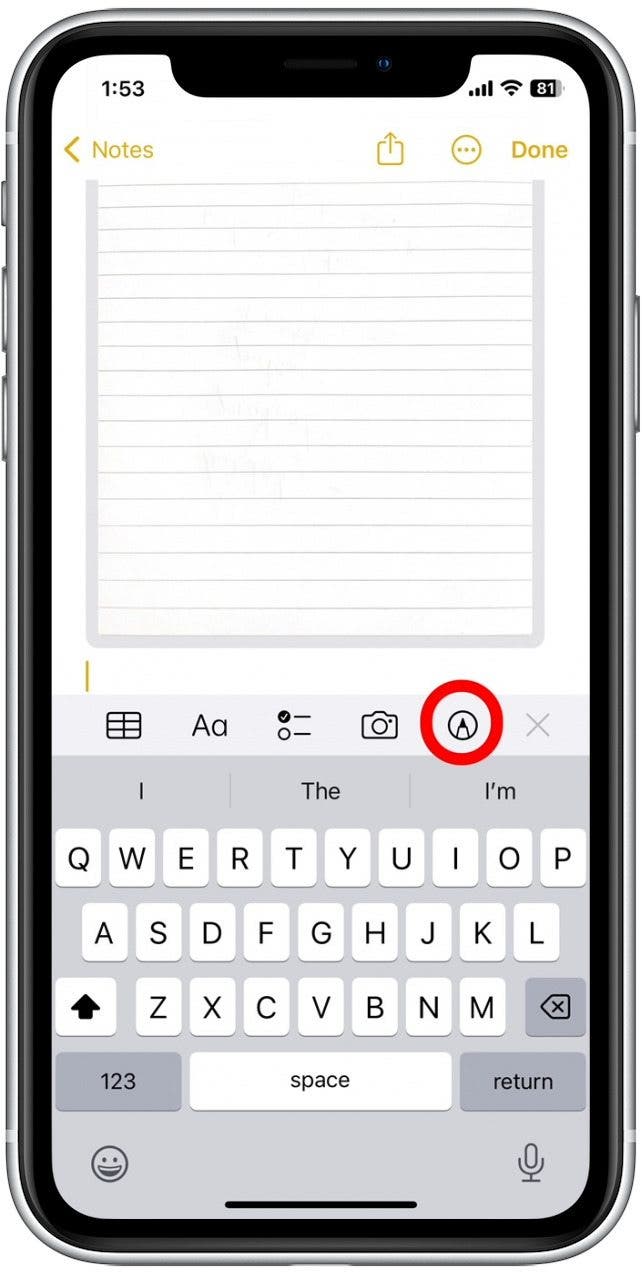
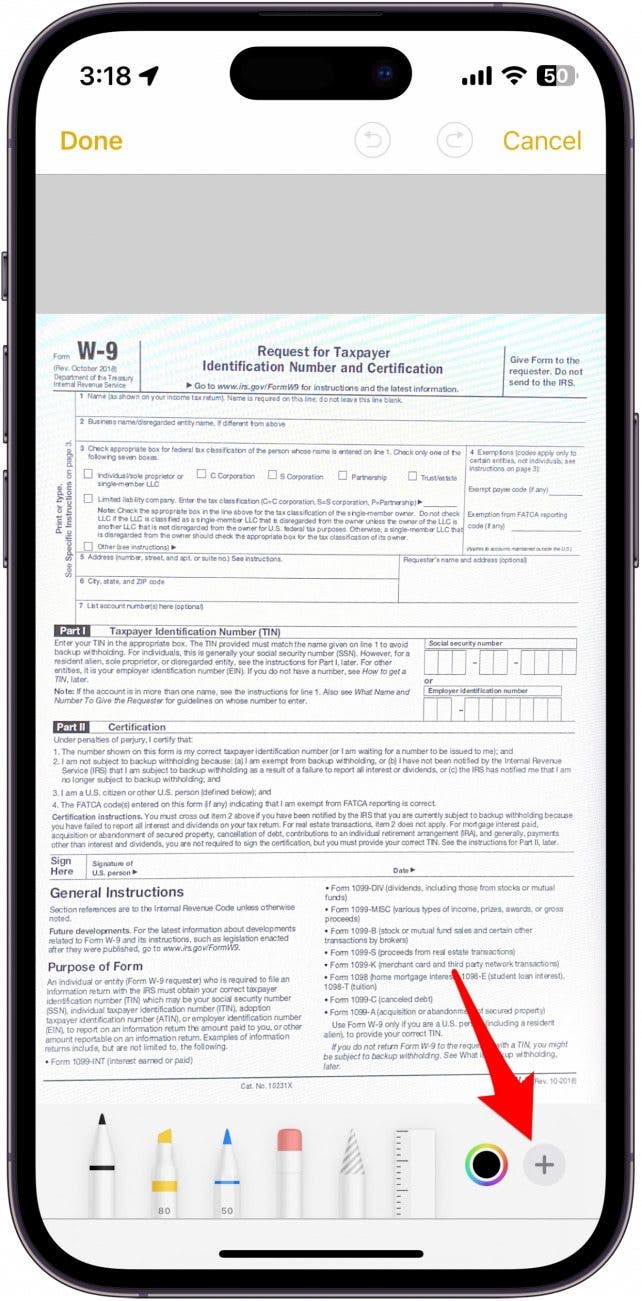
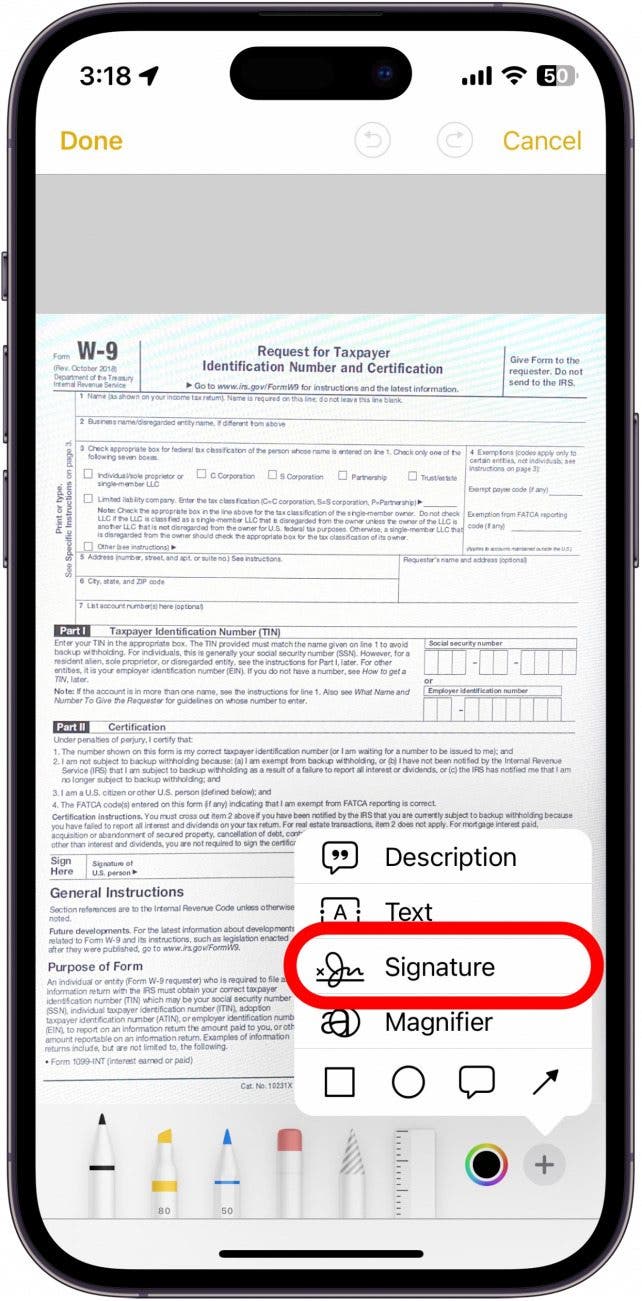
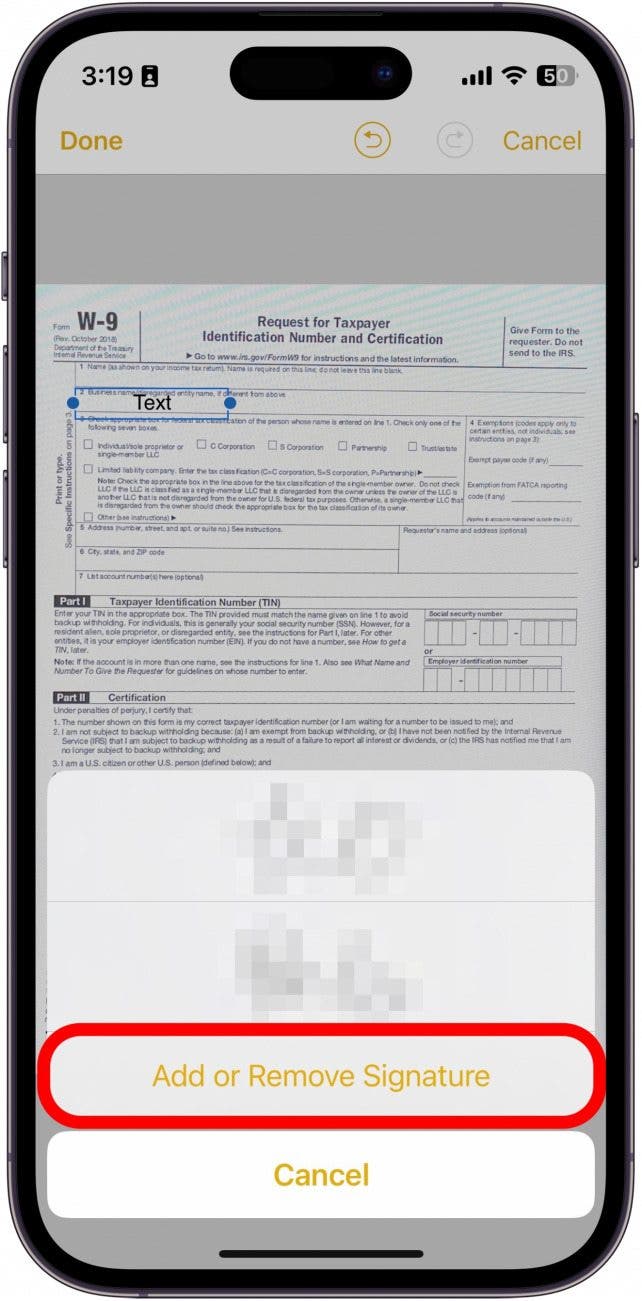
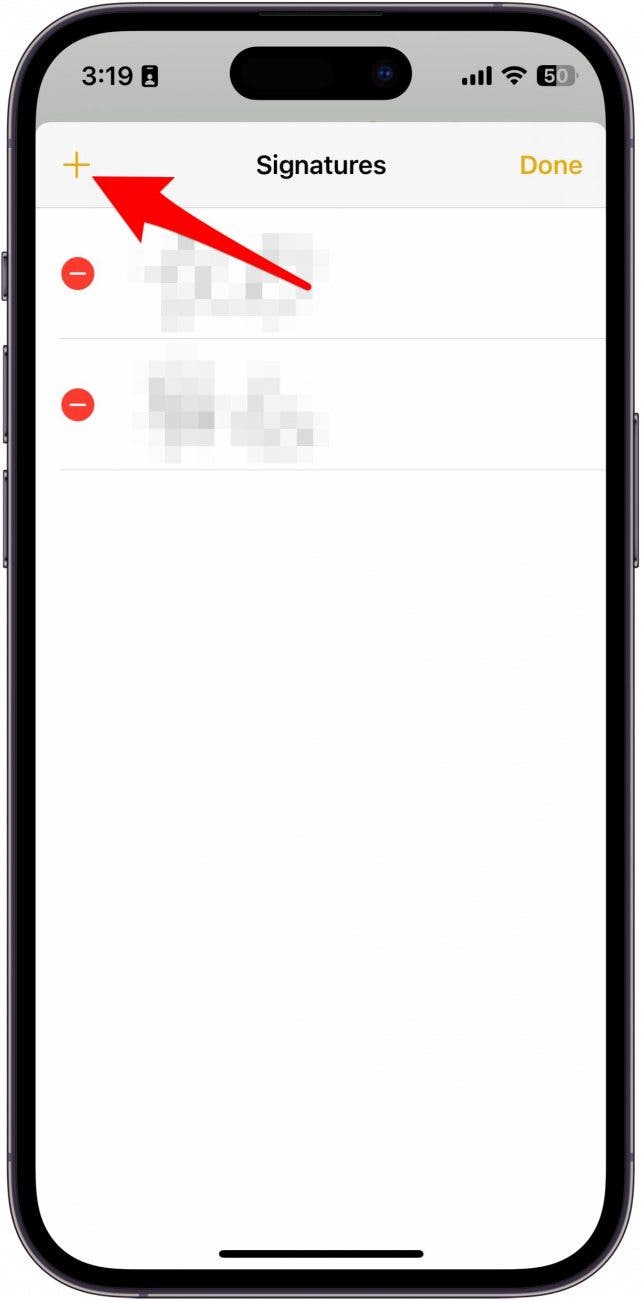
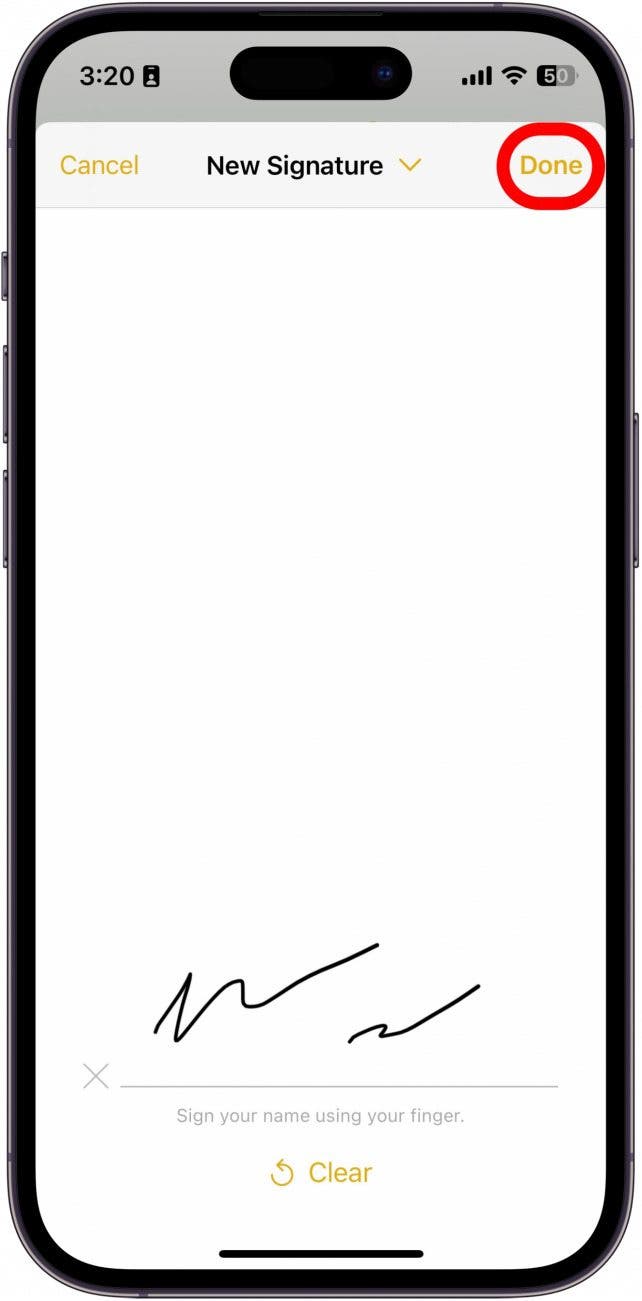
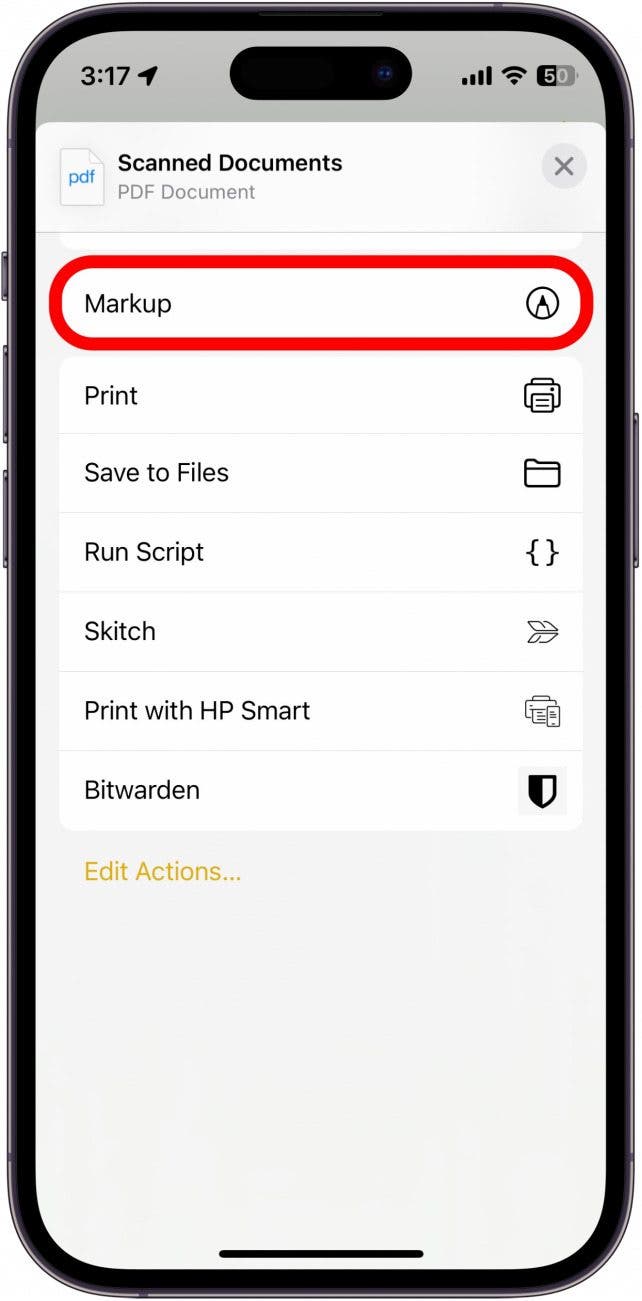
Good news! Adding your signature is pretty straightforward since the markup tool has an easy way for you to insert your signature. Here's how to sign a document on your iPhone:
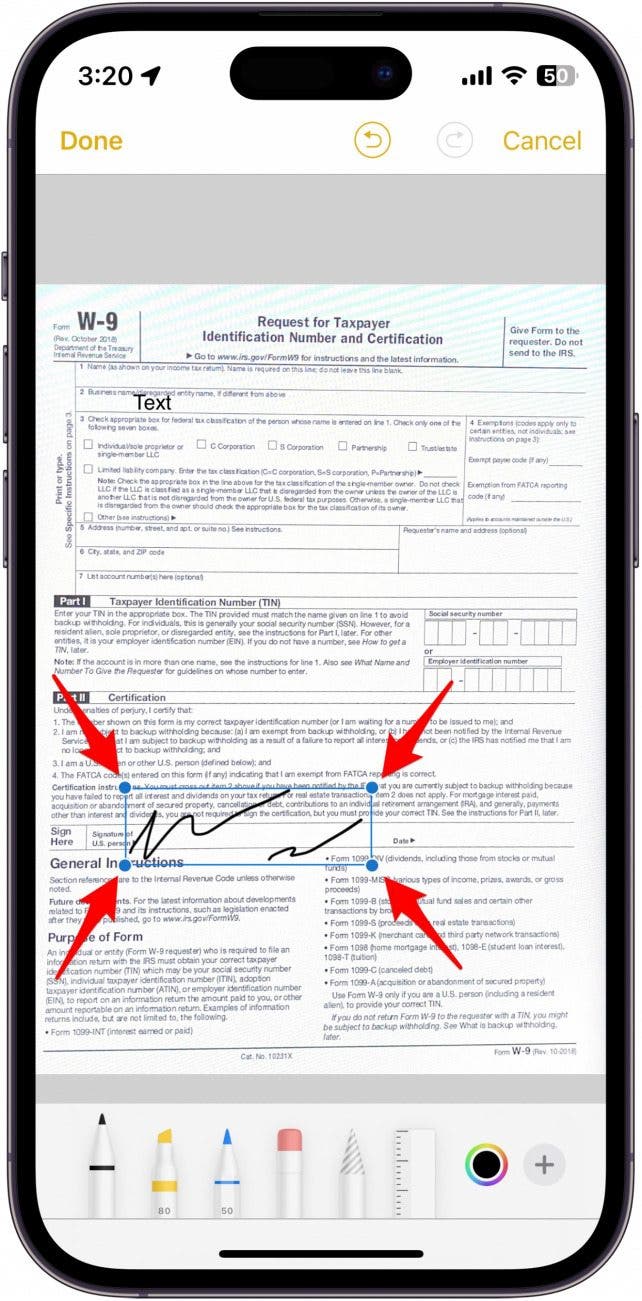
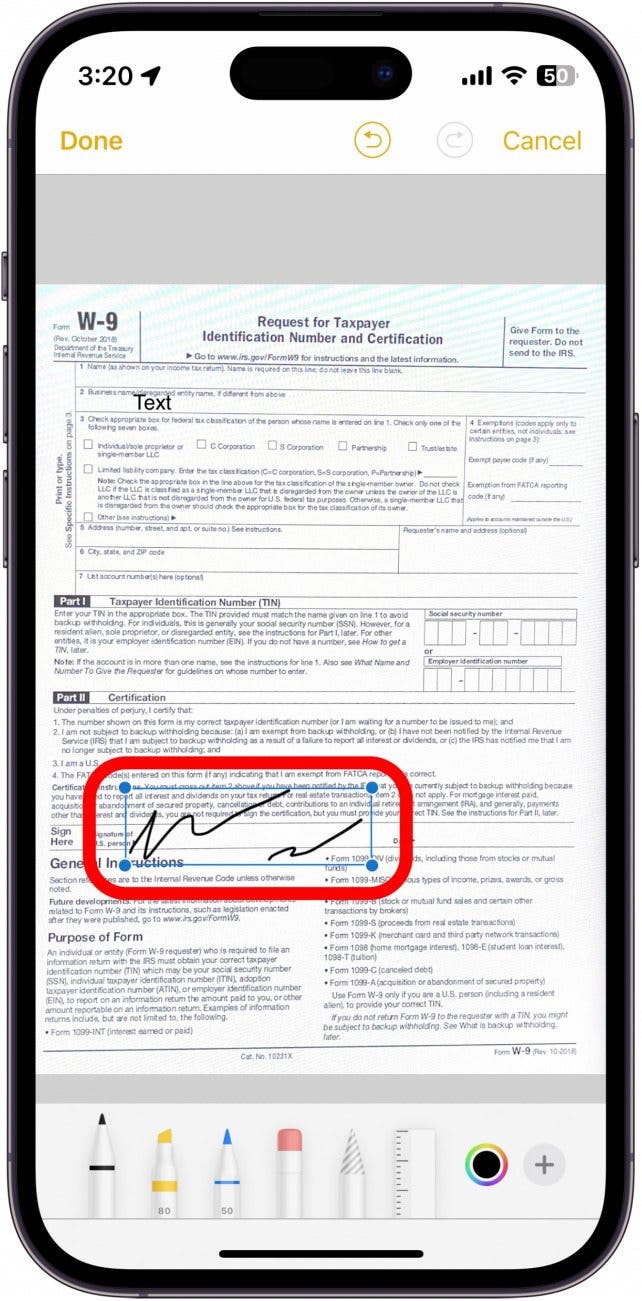 hold and drag into place." width="321" height="650" />
You can also find out how to edit a PDF on your iPhone (and sign it) using the Files app. Now that you know how to sign a document in Notes, let's go over how to add text.
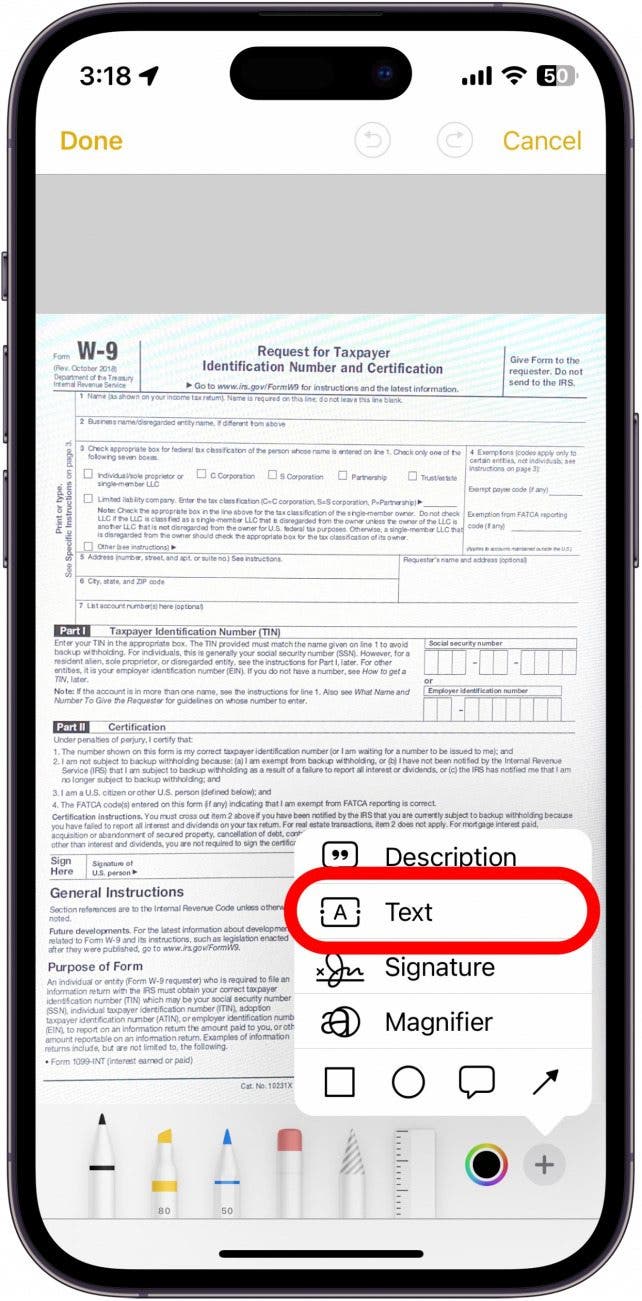
You may want to add text to a scanned PDF, such as a date or a typed note. Let's cover how to write on a scanned document in your Notes app:
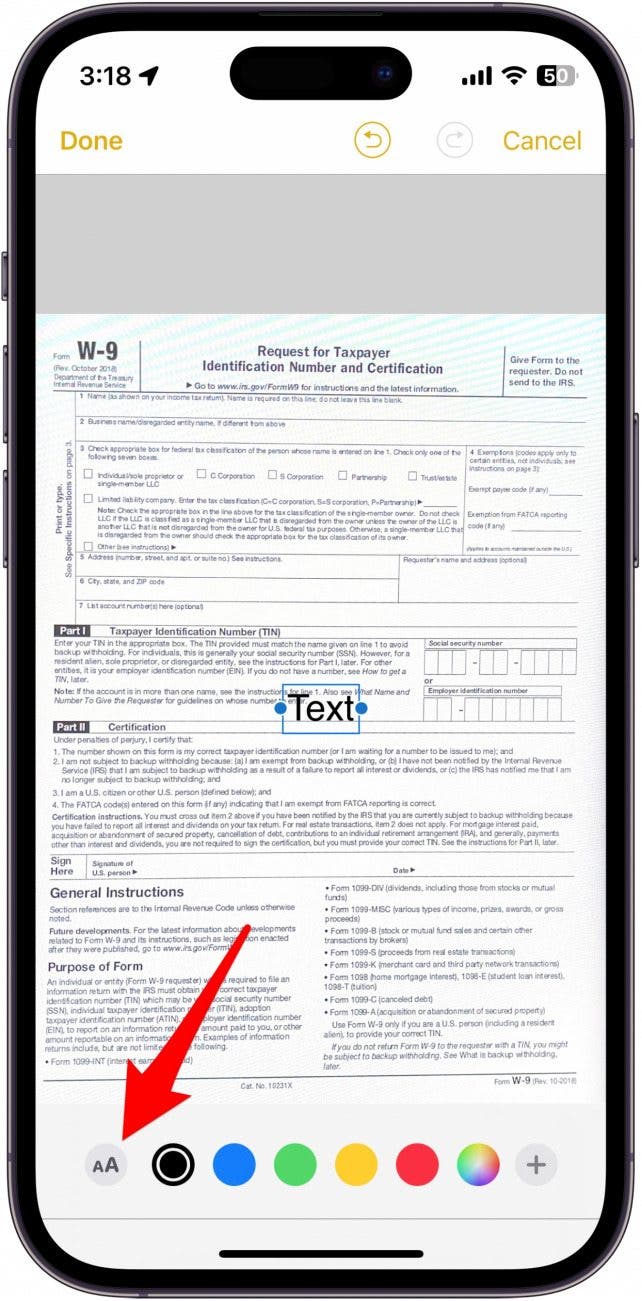
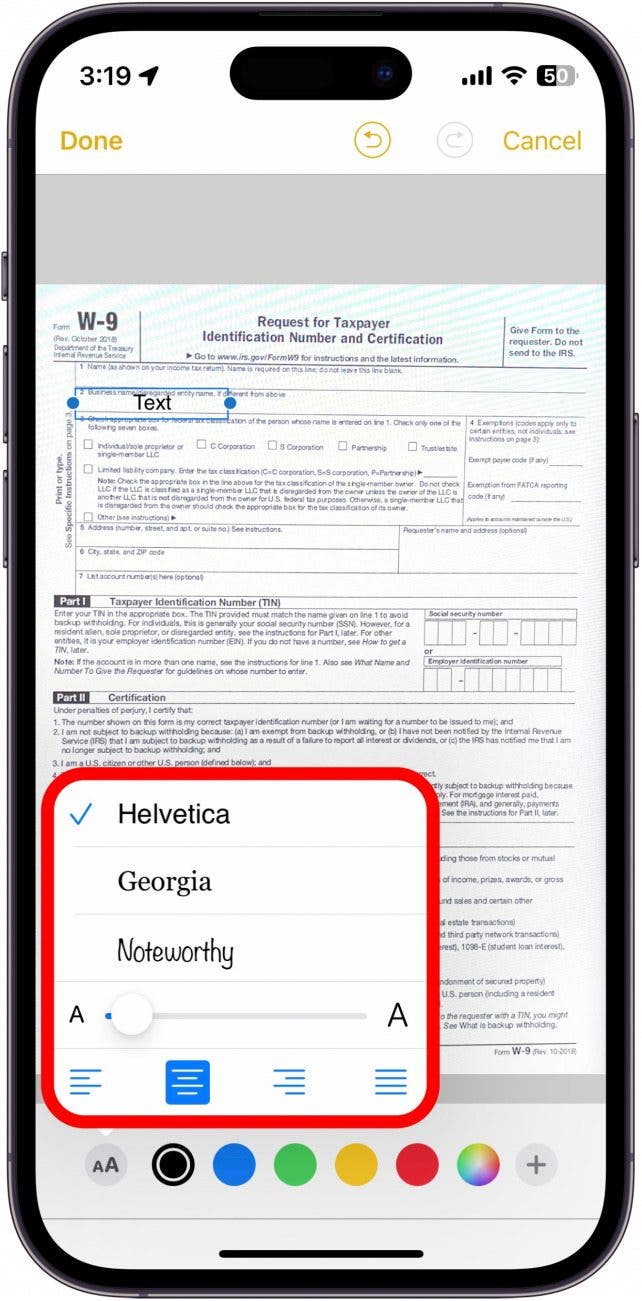
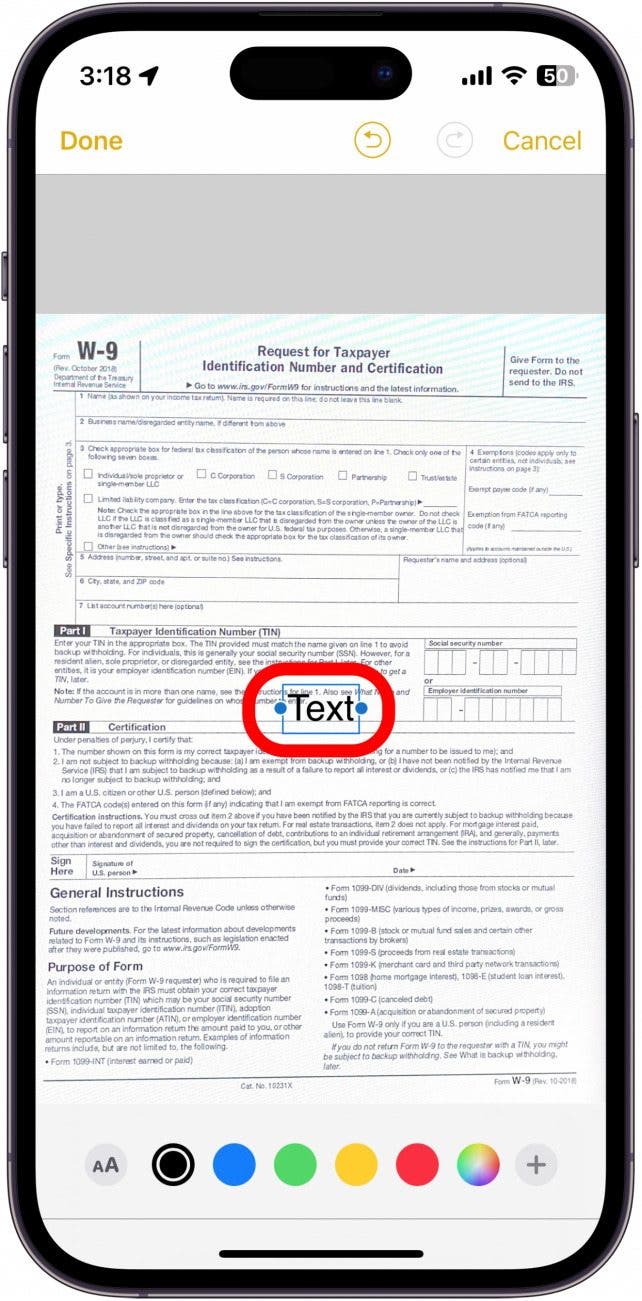 hold and drag the text into place." width="321" height="650" />
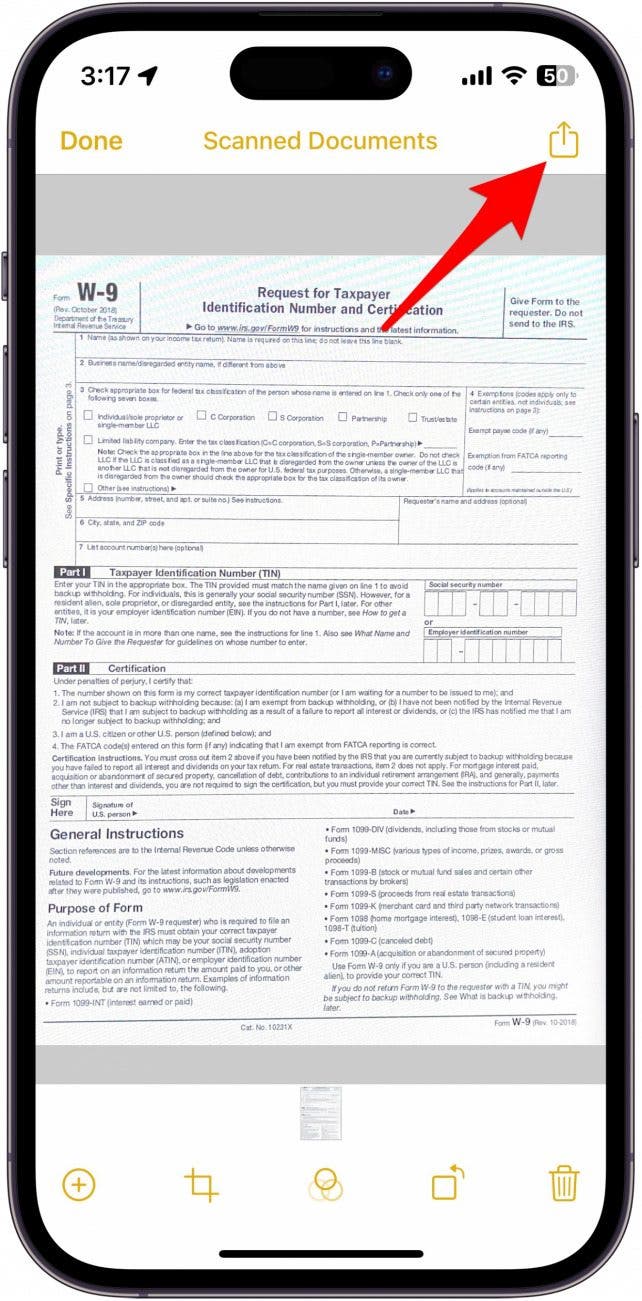
So you've edited and signed your document and are now ready to share it. Here's how to share the scanned document from your iPhone:
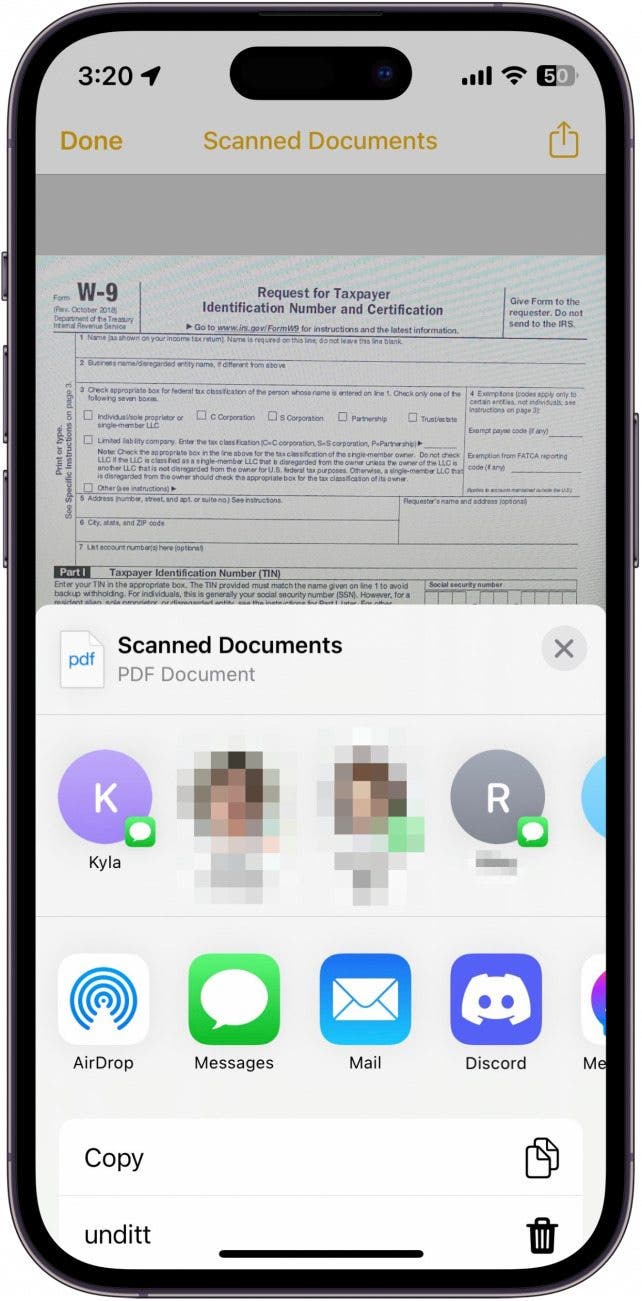
If you selected an email or messaging app, compose and send your message as usual. Your scanned document will be sent as an attachment with your text or email. Now that you know how to scan with the iPhone Notes app, check out how to save a file as a PDF on your iPhone or iPad.
Master your iPhone in one minute a day: Sign up here to get our FREE Tip of the Day delivered right to your inbox.